How to Crop a Video Using Movavi Video Editor
by 29/11/2017 21:410
Cropping videos can be extremely useful – in more ways than you might think. By removing parts of a video and re-framing it, you can essentially alter the scene completely and completely altering how it looks while removing areas that you don’t want. Additionally it is often used nowadays to alter the aspect ratio of videos, so that they can fit certain screen sizes or the requirements of some social media platforms.
In short it is safe to say that at some point or other you’ll need to crop a video, so it would be a good idea to learn how to do so using Movavi Video Editor. The best part about using Movavi Video Editor is that it will make the entire process relatively painless, and let you crop video a lot faster than you expect.
If you want to get started, launch Movavi Video Editor and load the video that you want to crop by clicking on the ‘Add Media Files’ button. The video will then appear in the ‘Timeline’, in the bottom section of the interface, and you can click on it to select it and start editing.
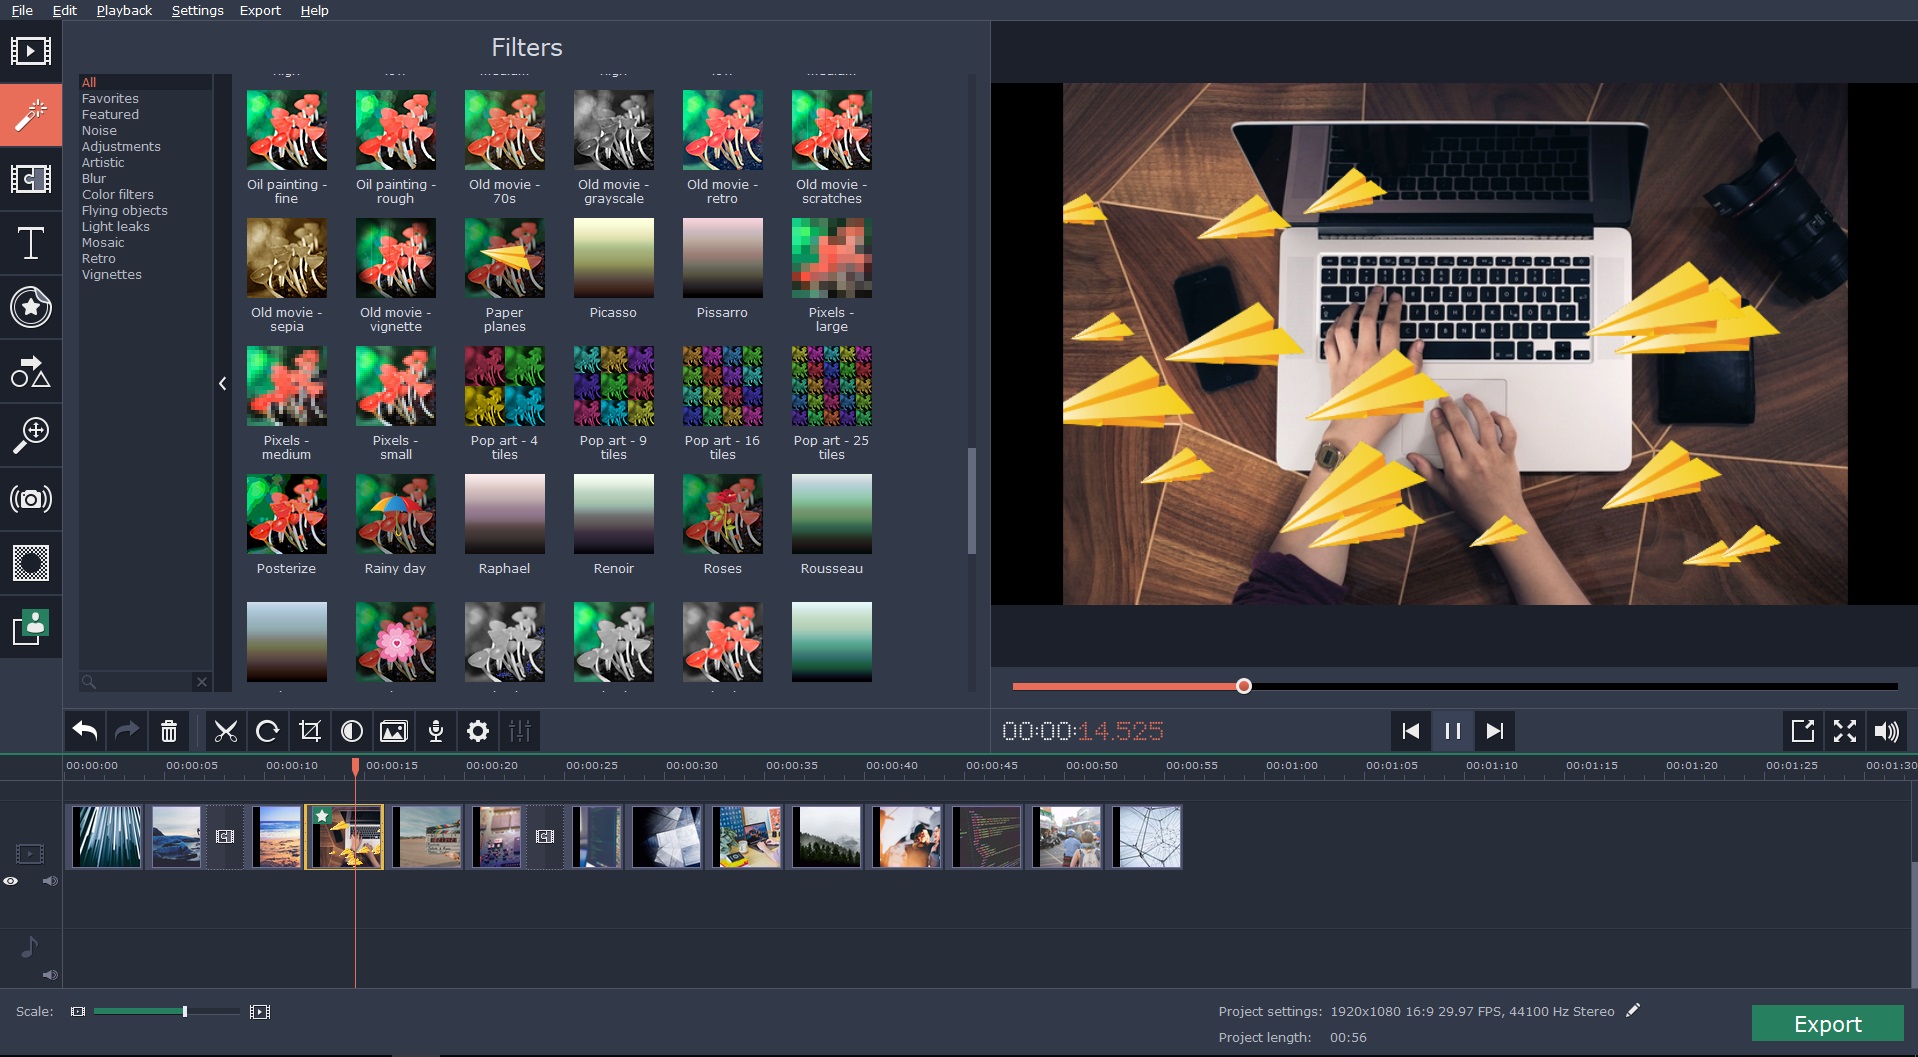
Directly above the ‘Timeline’ you’ll see a ‘Crop’ button that you should click on to open up the ‘Crop and Rotate’ tool. When you click on it you’ll see a frame appear over the ‘Preview’ area in Movavi Video Editor, and you can adjust that to define the new frame for your video – and crop out anything that falls outside of it.
Once you’re satisfied with how the frame looks, you can click ‘Apply’ to finalize it and effectively crop your video using Movavi Video Editor. After that all the remains is to click on the ‘Export’ button and save your newly-cropped video in a format of your choice, or by using one of the presets available to automatically optimize it.
All in all that shouldn’t take you very long, and after you’ve cropped your video once you’ll find it is even faster the next time round. If you have a bit more free time however, you should take the opportunity to explore the other features in Movavi Video Editor and see how they can be used to improve the quality of your video, trim out unwanted segments, apply special effects, add captions, insert audio tracks, and so on.
By attempting to use these features you’ll be able to see how each and every one of them is similarly intuitive and easy to use. Suffice to say with a bit of experimentation you could familiarize yourself with the full scope of features in Movavi Video Editor, and use it to perform far more intensive editing than just cropping your videos.
Related posts

Technology / by - ago
Dr Melvin Rabin: How Artificial Intelligence Is Transforming Modern Medicine
Dr Melvin Rabin is a retired clinical psychologist who spent nearly five decades treating patients at his practice in Needham, Massachusetts. At Rabin Associates, he addressed a wide range of…

Technology / by - ago
Yamaha R15: The Perfect Entry-Level Supersport for Indian Riders
Choosing a first supersport motorcycle can be hard for many riders. New riders usually look for a bike that looks sporty, has modern technology, and is easy to handle. The…

Technology / by - ago
How to Upgrade Your Front Porch to a Cosy Retreat
Your front porch is the first impression of your home, yet it is often overlooked as a space that can be both functional and inviting. With a few thoughtful upgrades,…

Technology / by - ago
Behind The Security Curtain: How QQWIN4D Ensures Safe Transactions Every Single Time
Do you want to know how QQWIN4D keeps each transaction safe in a simple and steady way? Many users think about this before they add funds, check account details, or…